How to create shopper missions

Shopper missions use a campaign group to define the mission window, a points wallet to track progress, and a set of incentive campaigns that each contribute one point toward completion.
This approach supports both running a single mission or a number of different missions at the same time, potentially targeting different audiences.
Expected result
- You create a campaign group that holds the mission wallet and its task campaigns.
- Customers can complete a defined set of actions and progress toward one reward threshold.
- If you use Spaaza Embed Elements or apps, the mission wallet and task campaigns can be shown together on a dedicated page.
Example
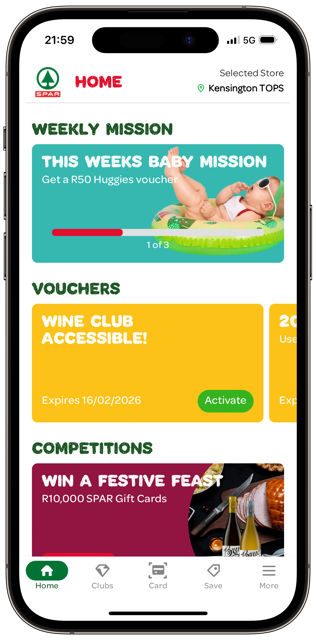
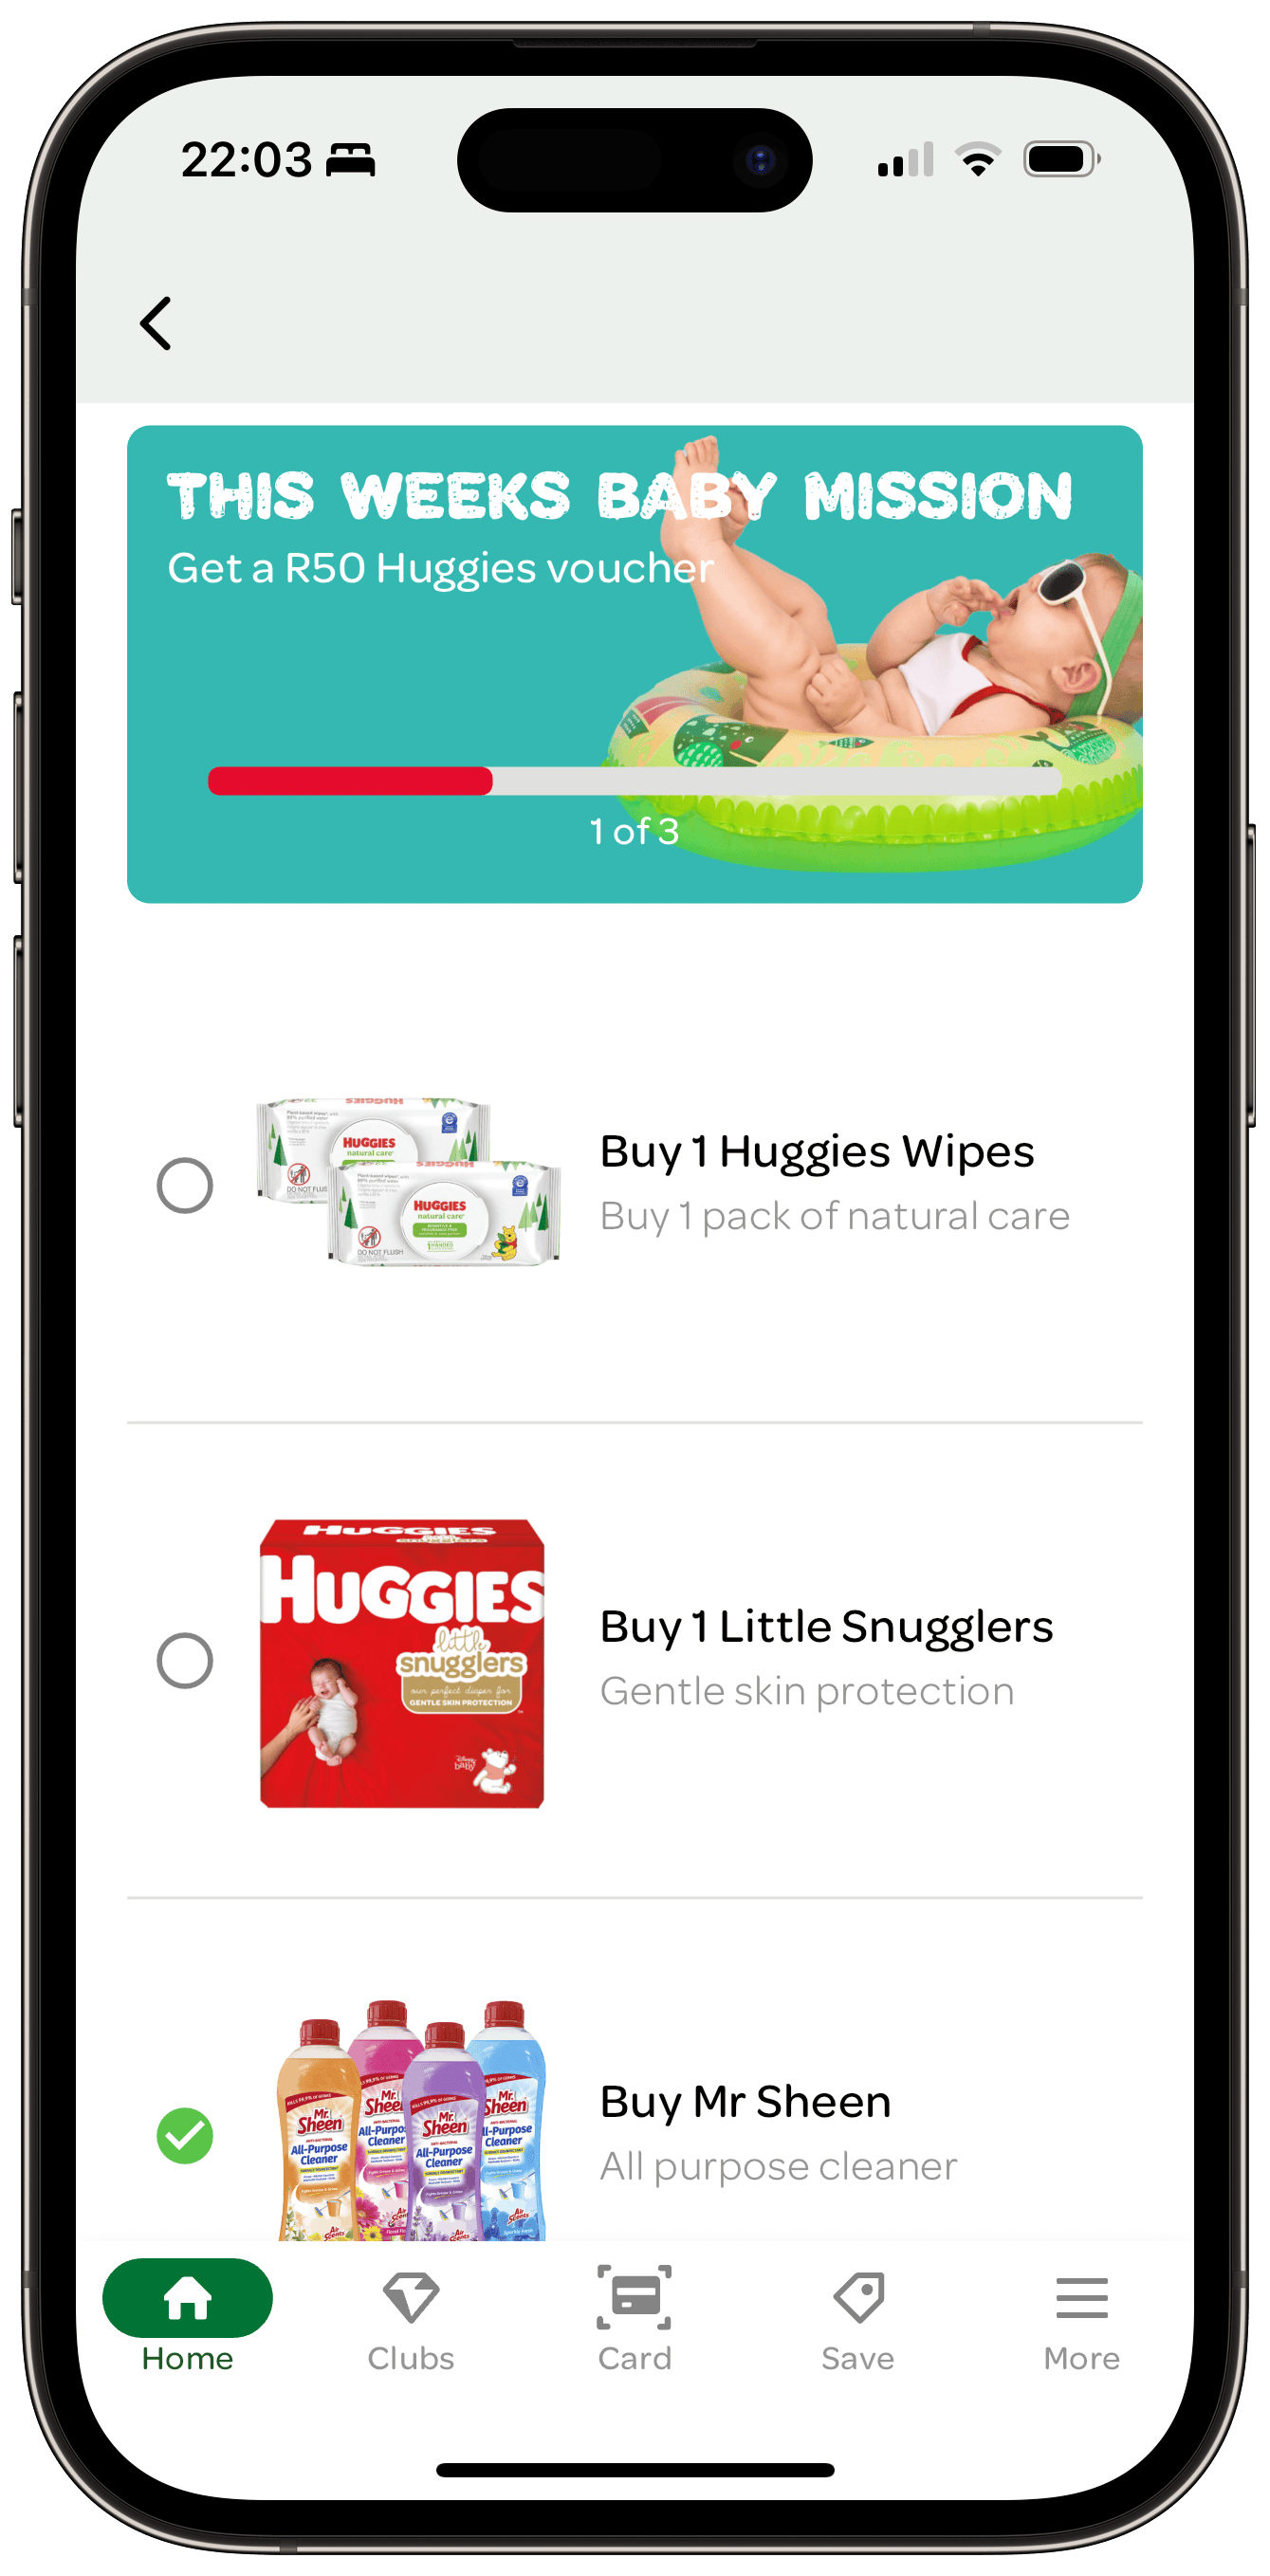
Below is an example shopper mission created using the steps described in this guide. This mission is promoted on an app home screen and the full details of the mission (wallet plus the task campaigns) are shown on a dedicated page.
Prerequisites
- You can access Campaign groups, campaign forms, and Content Management in Spaaza Console.
- You know which reward customers will receive when they complete the mission.
- You know how many tasks should be required to finish the mission.
- If the mission should only appear for a specific audience, create that audience first in Customer Segments.
Build this solution in Console
Step 1: Create the campaign group
- Open the Campaign groups page.
- Click Create a group.
- In Add Campaign Group, enter a mission name that makes the time window easy to understand.
- Set Start date and End date for the mission period. For a one-week mission, set the end date one week after the start date.
- Click Save.
- Open the new group and confirm it shows the mission timing you expect.
Step 2: Add the mission wallet
- Open the mission campaign group.
- Click Add campaign.
- Choose Wallet and then open the Points wallet setup flow.
- Give the wallet a customer-facing title such as This week's Baby Mission.
- If the mission should only be available for a specific audience, set the same segment you plan to use on the task campaigns.
- Add the tag mission so Spaaza channels can apply the standard mission-style presentation.
- Add the wallet imagery, promotional title, and descriptive content that explains the mission reward.
- Save the wallet campaign.
- Open the wallet rules and add a rule that sets the completion threshold. If the mission has five tasks, set the threshold to 5. You can also choose whether the threshold should repeat (every 5 points) or should only apply once (the first time 5 points are earned)
- Set the reward that will be issued when the rule threshold is reached - for example a EUR 5 voucher should be issued when 5 points are earned.
- Confirm the wallet rule now represents the total number of task points customers must earn and the correct reward settings.

Step 3: Add the task campaigns
- Return to the mission campaign group.
- Click Add campaign for each task you want customers to complete.
- Choose the campaign type that matches the behavior you want to drive. For example, use Profile Completion for customer data capture or Matching Item for a product-specific purchase task.
- For each campaign, set the reward to contribute 1 point to the mission wallet.
- Set the reward limit to 1 and the reward period to All Time so each task can only contribute once per customer.
- If the mission is targeted, apply the same segment logic you used on the mission wallet.
- If the campaign will surface in Spaaza Embed Elements or apps, add the tag mission here as well.
- Repeat until the number of task campaigns matches the wallet threshold.
- Review the group to confirm the wallet and task campaigns belong to the same mission and timing window.

Step 4: Configure the mission in Content Management
- Open Content Management.
- Create a dedicated mission page if you want this mission to appear on its own page. If you run recurring missions, you can reuse the same page and swap out the mission campaigns.
- Click Add Zone and create a zone for the mission wallet. A Card layout usually works best for the wallet summary.
- Click + Add Item to Zone and add the mission wallet to that zone.
- Add another zone for the task campaigns. A Tile Detailed layout usually makes the individual tasks easier to scan.
- Add the mission task campaigns to that second zone.
- Review the preview to make sure the wallet and tasks appear together in the order you want.
- Click Publish all changes when the page looks correct.
- Confirm the mission presentation helps customers see their progress, remaining tasks, and completed tasks clearly.

If something looks different
- If the wallet or task campaigns do not appear together, confirm they were added to the correct page and zones in Content Management.
- If customers can see the mission but do not earn progress, check that each task campaign contributes to the correct mission wallet and that reward limits are not blocking expected entries.
- If only some customers should see the mission, verify the same audience settings are applied consistently across the wallet and task campaigns.
- If the mission layout does not look right in Spaaza Embed Elements or apps, confirm the mission tag is present on both the wallet and the task campaigns.